Lead Climbing Guide: For Beginners
Table of Contents
What is lead climbing?
Have you ever looked at a climbing route and thought how did the rope get up there? If there’s no feasible way to trek around to the top, it implies that someone had to lead climb the route in order to secure the rope.
This type of climbing is often associated with top roping. But in contrast to lead climbing, top rope is where the rope initially ascends to a top anchor and descends back to the climber. In the case of lead climbing, the rope directly connects the belayer to the climber. As the climber ascends the cliff or artifical wall, they secure the rope to bolts affixed to the wall or removable pieces of trad gear.
Is lead climbing dangerous?
Compared to top roping, lead climb is considered more challenging and potentially more risky. The increase in risk comes from the potential for longer falls and the need for the climber to navigate the route while securing the rope. Factors such as spacing of protection points, the difficulty of the climb, and the skill of the climber all contribute tot he level of risk. In addition, the belayer plays a crucial role in ensuring the safety of the lead climber.
While lead climbing can potentially be more dangerous, it is crucial to note that proper training, experience, and adherence to safety protocols limits risk and allows climbers to engage in this type of climbing safely. In out lead climbing guide, you’ll find our tips for getting started in lead climbing.
Lead Climbing Guide: Tips for Lead Climbing
First Steps: Preparation
Before you lead climb, there are 2 essentials you should learn beforehand:
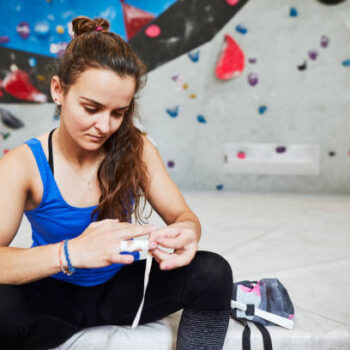
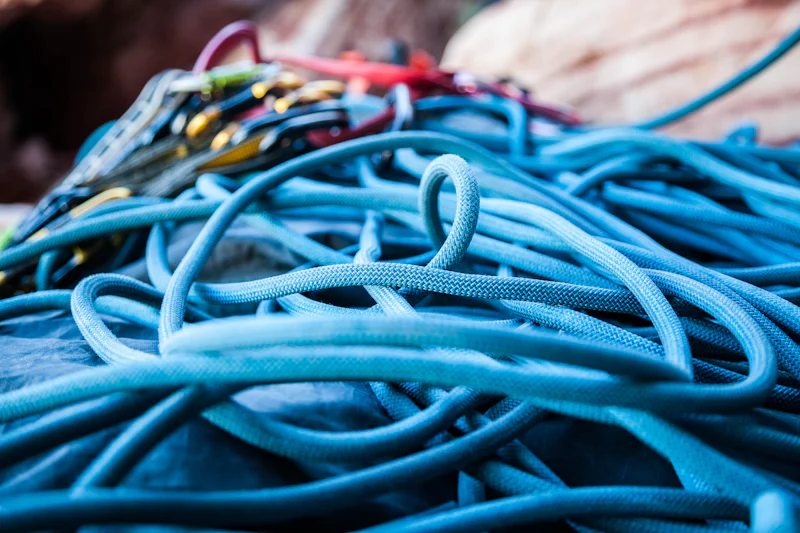
1) Proper Rope Management [Stack the rope]
Stacking the rope is one of the first things we do in preperation to lead climbing. It ensures that the rope is organized, out of the way of the climber, and minimizes tangles. First, find a clear area. Then, take the end of the rope and tie a stopper knot [double fisherman’s]. Next, you flake the rope by throwing it back and forth in a side-to-side motion. This helps the rope naturally fall into a series of loops or coils, reducing the chance of tangles. Once you’ve flaked the entire length of the rope, tie a figure-eight or overhand knot at the end to prevent it from unraveling.
Lead Climbing Guide: Pro Tip You can use this chance to check if the rope has any soft spots, fraying, or damage.
Recommended How To Video: Rock Climbing Ropes – Stacking A Rope for Lead Climbing – Flaking A Rope
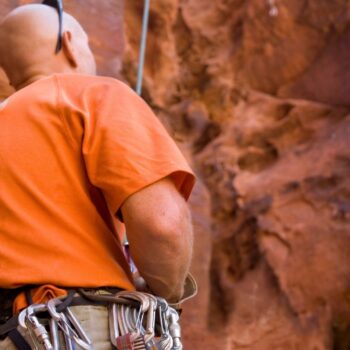
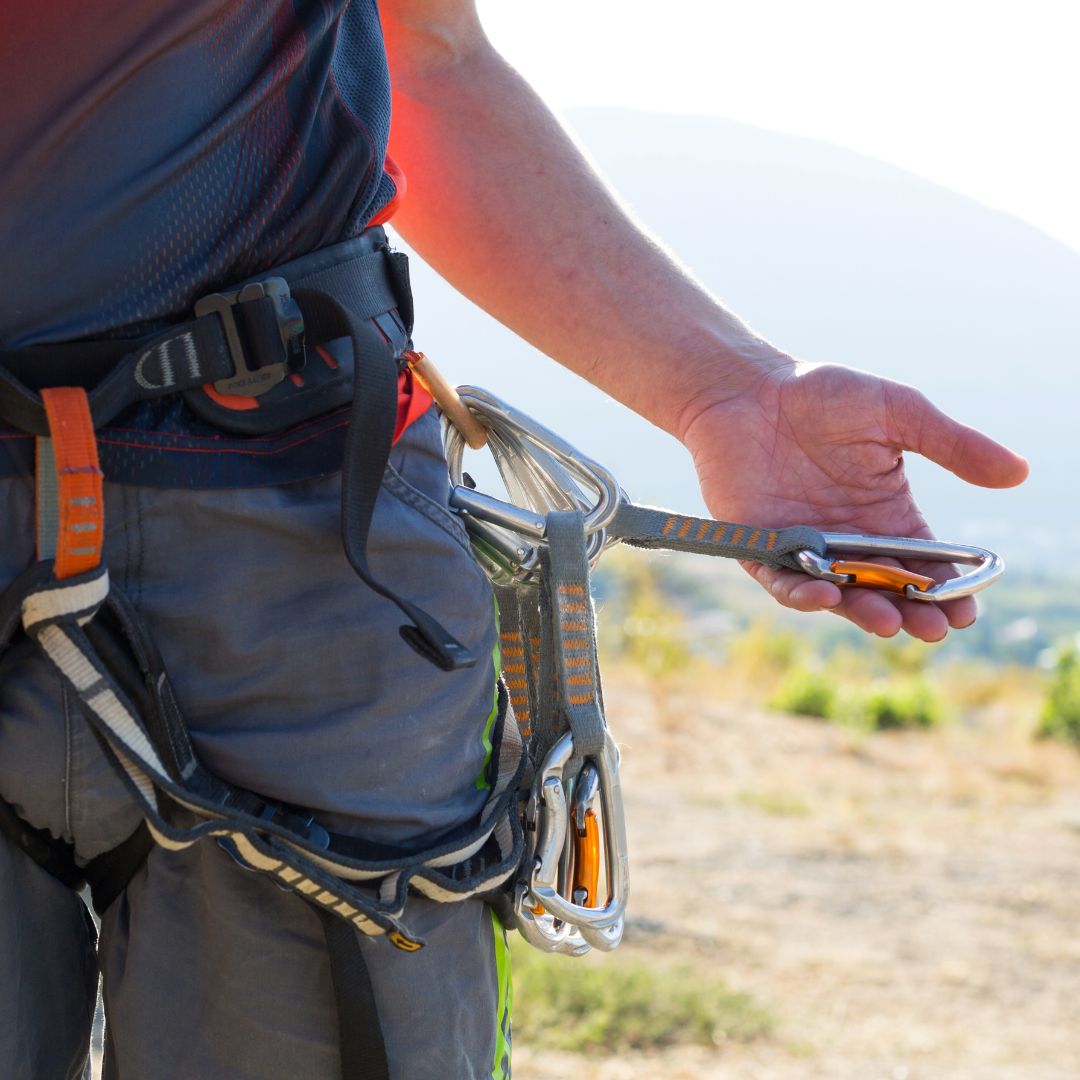
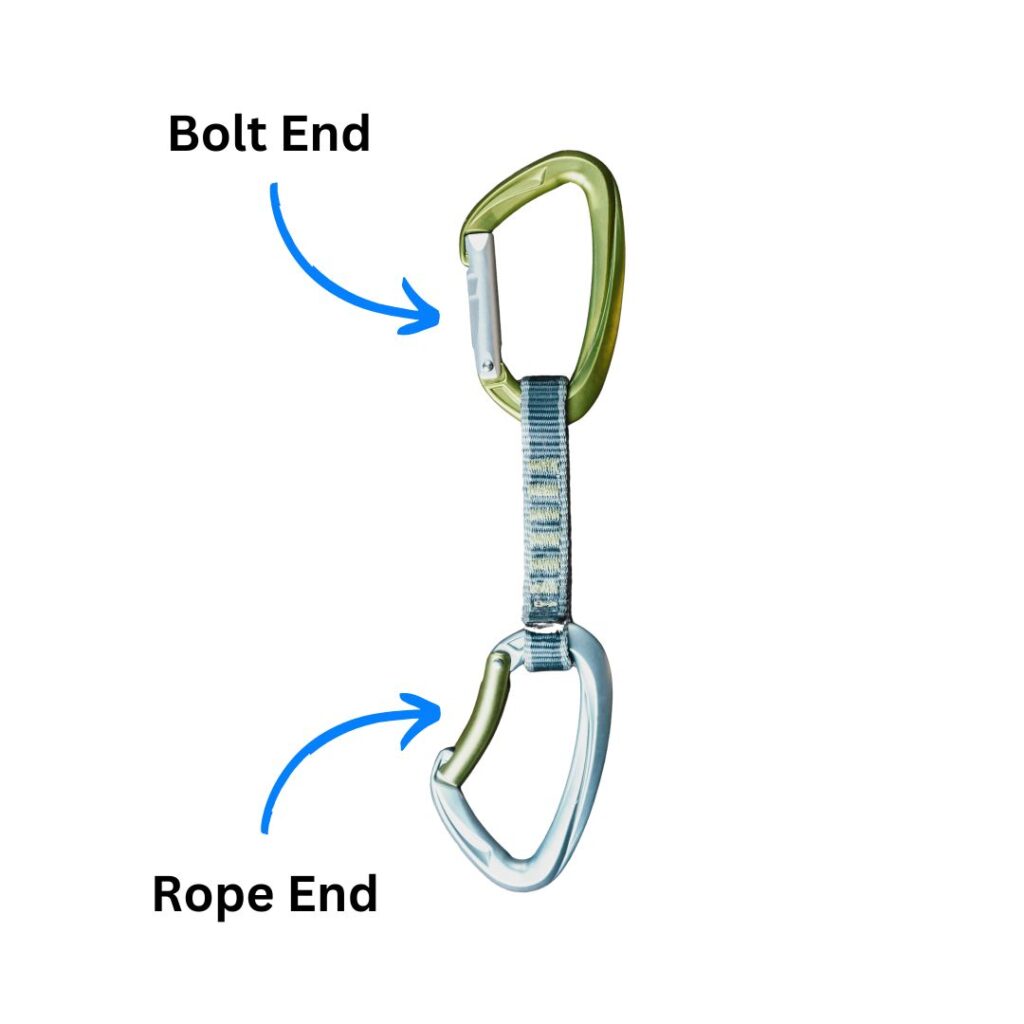
2) Racking Up: Attach quickdraws to your harness
There are some indoor climbing gyms that already have quickdraws attached to the wall, but if not, you’ll need to learn how to “rack up.” You’ll need to bring at least quickdraw for each bolt, and a couple spares just incase. Clip half of them to the gear loops on the left side of your harness, then the other half on the right side.
Recommended How To Video: Racking Quickdraws: Gate In or Out?
Next Step: Learn How to Clip Quickdraws
Lead Climbing Guide: Pro-tip In this lead climbing guide, we recommend to practice clipping quickdraws before you lead climb. Properly clipping quickdraws is crucial for safety in lead climbing. Incorrectly clipped quickdraws can lead to dangerous situations such as rope drag, difficult clipping stances, or even unclipping during a fall.
What to Learn:
- Clip quickdraws to bolts
- Clip the rope into the quickdraws
- Clip the rope into the top anchor
Check out the video below, by Outdoor Research, on everything you need to learn about how to clip quickdraws.
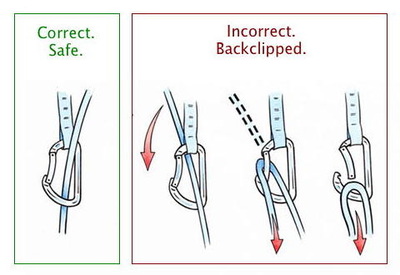
WARNING!!!! When you clip the rope into the rope-end carabiner on a quickdraw, pay particular attention to the path the rope travels through the carabiner. The rope must pass through the carabiner from the cliff side to the outside.
Additional Tips for Beginners
Do a Mock Lead
In this lead climbing guide, we recommend beginner lead climbers is to do a mock lead. This method enables first-time lead climbers to ascend a route while securely attached to a top rope, while simultaneously practicing leading with a second rope. This allows you to concentrate on placing gear, clipping bolts and managing the rope on lead, all while having the safety net of a top rope in case of any falls.
Learning to Fall
Practicing controlled falls in safe areas and with reliable gear is a beneficial method to boost confidence and enhance climbing profeciency. Developing comfort with falling demonstrates trust in both your equipment and belayer, ultimately enabling you to tackle more challenging climbs with greater ease.
Find a Trainer
For more information beyond this lead climbing guide, we recommend that you seek a professional instructor to learn about the proper use and care of lead climbing equipment, such as ropes, harnesses, quickdraws, and belay devices for safe climbing.